Step 3 : Generate a Map
The Mowito Navigation Stack provides three methods to generate a map.
Mapping for Simulation Pursose
Method 1 : Manual Map generation via remote control robot exploration
Step 0 : Source the workspace
source <path_to_mowito_ws>/devel/setup.bash
Step 1 : Launch the sim_mw_mapping node
For ROSBot, run the following command
roslaunch mowito_rosbot sim_mw_mapping.launch
For TurtleBot, run the following commands
roslaunch turtlebot3_gazebo turtlebot3_world.launchIn another terminal, run the following commands:
export TURTLEBOT3_MODEL=waffle_pi
roslaunch mowito_turtlebot turtle_mowito_mapping.launch
For Husky, run the following command
roslaunch mowito_husky sim_mw_mapping.launch
For Jackal, run the following command
roslaunch mowito_jackal jackal_mw_mapping.launch
Step 2 : Launch the remote control for providing commands to the bot
in another terminal, run the following command :
rosrun teleop_twist_keyboard teleop_twist_keyboard.py
Method 2 : Map generation by providing goal destination for navigating robot for exploration
Here, the robot will explore the map based on the goal destination provided by the user on RViz.
For ROSBot, run the following command
roslaunch mowito_rosbot sim_mw_navigation_with_no_map.launch
For TurtleBot, run the following command
roslaunch turtlebot3_gazebo turtlebot3_world.launchIn another terminal, run the following commands:
export TURTLEBOT3_MODEL=waffle_pi
roslaunch mowito_turtlebot turtle_mowito_nav_no_map.launch
For Husky, run the following command
roslaunch mowito_husky sim_mw_navigation_with_no_map.launchFor using cartographer for mapping/ SLAM instead of default mw_mapping, use the following commad:
roslaunch mowito_husky sim_mw_navigation_with_no_map.launch cartographer:=trueFor using slam toolbox for mapping/ SLAM with velodyne, use the following commad:
roslaunch mowito_husky sim_mw_navigation_with_no_map_slam_toolbox.launch
For Jackal, run the following command
roslaunch mowito_jackal jackal_mw_nav_no_map.launch
The goal can be provided on RViz using the “2D Nav Goal” feature provided on RViz.
The icon is highlighted in red in the image below.
Saving the Map
Once you are done creating the map on rviz, save the map on a new terminal exeute the following:
cd && rosrun map_server map_saver -f mymap
the map (pgm and yaml) is saved in the home directory with the name mymap.pgm and mymap.yaml
For Huskybot
if you were using cartographer to build the map , run the following command
rosrun mowito_husky save_carto_map.sh map_namethe map (pbstream) is saved in the home directory with the name map_name.pbstream. If no map_name is given then it would save as map.pbstream
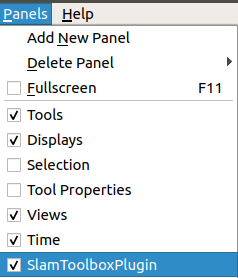
if you were using slam toolbox to build the map, open the slam toolbox plugin in Rviz by clicking the panels and give a name for the map and store it using serialize map option.
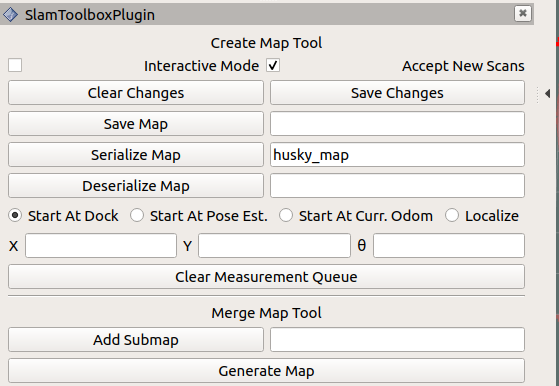
the map is saved in the .ros folder in the home directory with the name husky_map.posegraph and husky_map.data.
Alternatively, in order to save the map, on a new terminal execute the following:
rosservice call /slam_toolbox/serialize_map "husky_serialize"